Stop Trusting the Stars: How to Actually Read a Trail Guide Before You're Stranded at Mile 9
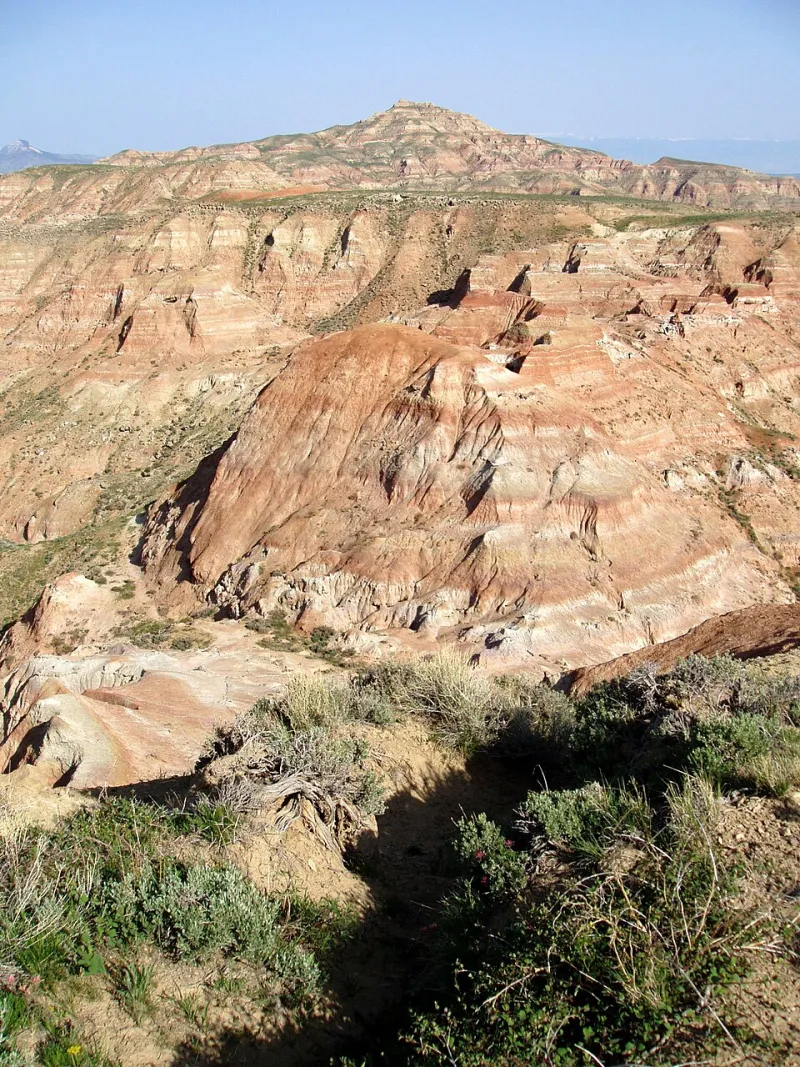
Photo: Lisa Marks; Bureau of Land Management, Public domain, via Wikimedia Commons
Let's talk about the four-star moderate hike that nearly wrecked someone's summer.
A group of friends — casual hikers, not beginners exactly, but not mountaineers either — pulled up a popular trail in Colorado on AllTrails. Four stars. 1,400 reviews. "Moderate." They packed lunch, wore sneakers, brought one water bottle between three people, and set off confidently. By mile six, they were rationing sips and calling a ranger station from a ridge with spotty cell service.
The trail was, technically, moderate. For Colorado locals who hike at altitude every weekend. For visitors from sea level, it was something else entirely.
This is the gap that trail guides — even good ones — rarely close for you. And closing it yourself is a skill worth developing before you find out the hard way.
Why "Moderate" Doesn't Mean the Same Thing Twice
Here's the uncomfortable truth about trail difficulty ratings: there is no universal standard. AllTrails uses a proprietary algorithm that factors in distance, elevation gain, and route type. The National Park Service rates trails based on internal guidelines that vary by park. State parks do their own thing. And local hiking clubs? They often rate based on what their most experienced members consider a casual Saturday.
A trail rated "moderate" in the Great Smoky Mountains might involve 800 feet of elevation gain over six miles. A "moderate" trail in Rocky Mountain National Park might involve 2,500 feet of gain at altitudes starting above 9,000 feet. Both are labeled identically on their respective platforms. Neither label is wrong. They're just not speaking the same language.
The fix is simple but takes a few extra minutes: always cross-reference. Pull up the official park or forest website alongside whatever app you're using. Look for the raw numbers — total distance, elevation gain, highest point reached — rather than the star rating or difficulty label. Those numbers don't lie.
Elevation Profiles: The Chart Nobody Reads Until It's Too Late
Most trail apps now include an elevation profile — that little graph at the bottom of the trail page that shows how the altitude changes over the course of the hike. Most people scroll right past it.
Don't.
A trail that gains 2,000 feet total reads very differently depending on when that gain happens. If it's spread gradually over eight miles, you're looking at a steady climb that most fit hikers can manage. If 1,800 of those feet happen in the final two miles, you've got a wall at the end when you're already tired and potentially low on water.
Look at the shape of the profile, not just the total numbers. A smooth upward curve means consistent effort. A flat middle section with sharp spikes at each end usually means you'll be scrambling on tired legs. And if the profile shows multiple significant gains and losses — common on ridge trails in the Cascades or Appalachians — factor in that every descent just means another climb back up.
Water Sources: The Discrepancy That Can Actually Hurt You
This is where conflicting information between platforms gets genuinely dangerous. AllTrails user reviews are crowdsourced, which means the water source listed as "reliable" in a comment from August might be bone dry by late September. Seasonal streams don't come with disclaimers.
Official park and forest websites are better here — many publish seasonal trail condition reports that include current water source status. The USDA Forest Service and the National Park Service both maintain trail condition pages that are updated more regularly than most people realize. Get in the habit of checking them within a week of your planned hike.
For backcountry routes in particular, sites like Guthook (now FarOut) and the Water Report for long trails like the PCT give you real-time, hiker-reported conditions that are worth their weight in gold during dry years. California hikers especially know that a drought season can turn a well-documented water source into a patch of cracked mud.
General rule: if your water plan depends on a single source, you need a backup plan.
Permit Systems: Every Platform Gets This Wrong
Permit requirements are the area where trail apps fall furthest behind reality — and where the consequences of bad information are the most immediate. You can drive four hours to a trailhead and get turned away because you didn't know a day-use permit was required.
AllTrails, Hiking Project, and similar apps do their best to flag permit requirements, but these systems change frequently. Yosemite's reservation system, the Enchantments lottery in Washington, the Whitney Portal quota in California — these are all managed through Recreation.gov or separate agency portals, and the rules shift year to year.
Always confirm permit requirements directly on the land management agency's official website before you go. If it's a National Forest trail, check the specific forest's website. If it's a National Park, check the park's page on nps.gov. Don't rely on app data that might be a season old.
And if a trail requires a permit, apply early. Many popular routes — think the Havasupai Falls lottery or the Zion Narrows during peak season — fill months in advance. Showing up without one isn't just a wasted trip; in some cases it's a fine.
Reading Between the Reviews
User reviews on trail apps are genuinely useful, but you have to know how to filter them. A few things to watch for:
Check the date. A glowing review from June means nothing about what you'll find in November. Conditions change dramatically by season — trail surfaces, water sources, snow cover, and even signage.
Filter by fitness level. Many apps let you see a reviewer's hiking history. A review calling a trail "easy" from someone who's logged 200 hikes is different from the same word used by someone on their third outing ever.
Look for the outliers. If 95% of reviews are positive and five recent ones mention washed-out sections or missing trail markers, those five matter more than the average. The crowd is rating the trail on a good day. The outliers might be describing your day.
Putting It Together Before You Go
Here's the quick checklist worth running through for any hike you're planning:
- Pull the raw numbers — distance, elevation gain, highest point — from at least two sources.
- Study the elevation profile, not just the total gain.
- Check water sources on the official agency site within one week of your hike.
- Verify permit requirements directly through Recreation.gov or the managing agency's website.
- Read recent reviews filtered by date and, if possible, reviewer experience level.
- Adjust for your baseline — if you're visiting from a low-altitude city, add difficulty to any trail above 8,000 feet.
Trail guides are tools, not guarantees. The best ones give you a framework; the rest is interpretation. Learning to read that data critically — to see past the star ratings and into the actual terrain — is what separates the hikers who come back with great stories from the ones who come back with great stories about how things went sideways.
The trail doesn't care what the app said. But you can.